
| 일 | 월 | 화 | 수 | 목 | 금 | 토 |
|---|---|---|---|---|---|---|
| 1 | 2 | 3 | ||||
| 4 | 5 | 6 | 7 | 8 | 9 | 10 |
| 11 | 12 | 13 | 14 | 15 | 16 | 17 |
| 18 | 19 | 20 | 21 | 22 | 23 | 24 |
| 25 | 26 | 27 | 28 | 29 | 30 | 31 |
Tags
- 에러
- app store connect guideline
- buildcontext
- appstroe connect guideline
- Guideline 5.1.1
- exception
- youtube_player_flutter
- flutter_secure_storage
- withopacity
- app completeness
- guideline 1.5
- flutter_dotenv
- exception caught by image resource service
- guideline 4.3(a)
- permissiondeniedexception
- app stroe connect guideline
- undefined name
- pub.dev
- 채팅 메시지 정렬
- .dio
- providernotfoundexception
- flutter doctor -v
- Flutter
- appstore connect guideline
- tflite_flutter
- infinity or nan toint
- AI
- dart sdk version upgrade
- 플러터
- information needed
Archives
- Today
- Total
min_chan님의 블로그
[pub.dev] - http 본문

http란?
- http 패키지는 Dart에서 제공하는 비동기 네트워크 요청 라이브러리로, 다양한 플랫폼(모바일, 데스크탑, 웹)에서 사용할 수 있다
- 이를 사용하면 쉽게 HTTP 요청을 수행하고 응답을 처리할 수 있다.
http 사용법
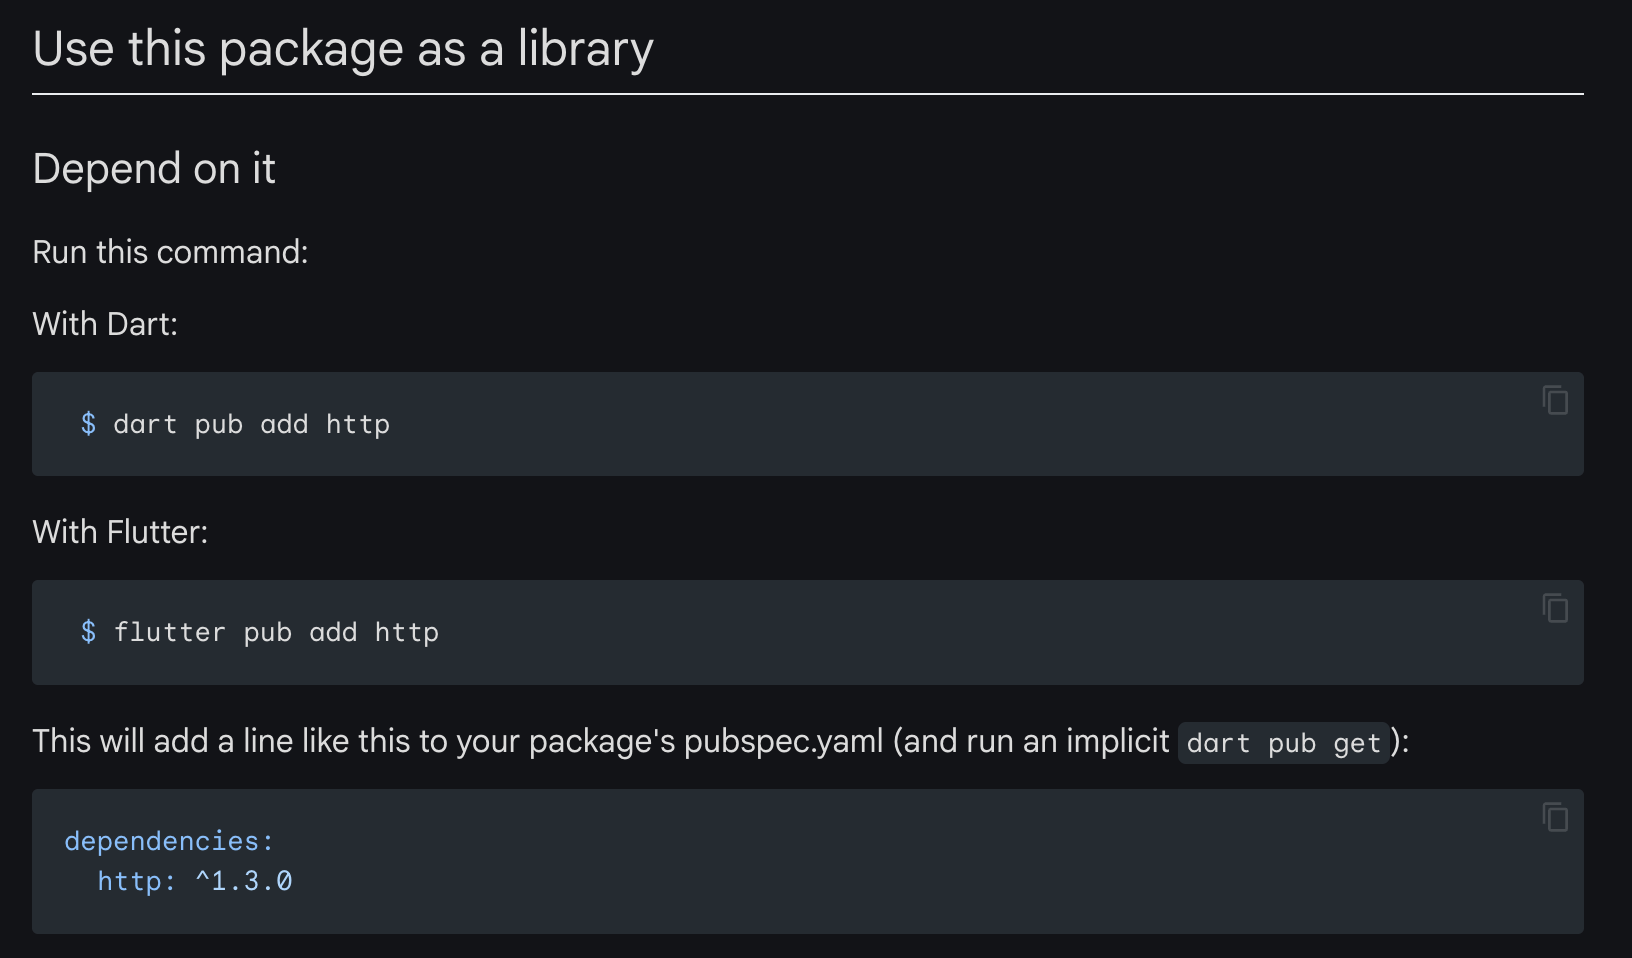
1. 패키지 설치
- 터미널에서 pub add 명령어를 실행해 패키지를 설치
2. http 요청 사용법
import 'package:http/http.dart' as http;

void main() async {
  var url = Uri.https('example.com', 'whatsit/create');
  var response = await http.post(url, body: {'name': 'doodle', 'color': 'blue'});

  print('Response status: ${response.statusCode}');
  print('Response body: ${response.body}');

  print(await http.read(Uri.https('example.com', 'foobar.txt')));
}- http.post(url, body: {...}) : POST 요청을 보냄
- response.statusCode : HTTP 응답 상태 코드 확인
- response.body : 응답 본문 출력
- http.read(url) : 간단한 GET 요청 실행
3. Client를 사용한 연결 유지
import 'dart:convert';
import 'package:http/http.dart' as http;

void main() async {
  var client = http.Client();
  try {
    var response = await client.post(
      Uri.https('example.com', 'whatsit/create'),
      body: {'name': 'doodle', 'color': 'blue'}
    );
    var decodedResponse = jsonDecode(utf8.decode(response.bodyBytes)) as Map;
    var uri = Uri.parse(decodedResponse['uri'] as String);
    print(await client.get(uri));
  } finally {
    client.close();
  }
}
- http.Client() : 여러 요청을 하나의 클라이언트 객체에서 처리 가능
- client.post(...) : POST 요청 실행
- jsonDecode(utf8.decode(response.bodyBytes)) : 응답을 UTF-8로 디코딩 후 JSON 파싱
- client.close() : 사용 후 클라이언트 닫기 (리소스 관리 필수!)
4. 요청 재시도 (RetryClient)
import 'package:http/http.dart' as http;
import 'package:http/retry.dart';

Future<void> main() async {
  final client = RetryClient(http.Client());
  try {
    print(await client.read(Uri.http('example.org', '')));
  } finally {
    client.close();
  }
}- 503 (Temporary Failure) 상태 코드 발생 시 최대 3번 재시도
- 첫 번째 재시도는 500ms 후 실행, 이후 1.5배씩 증가
- RetryClient 생성자로 설정 가능
5. 사용자 지정 클라이언트 생성 (BaseClient)
import 'package:http/http.dart' as http;

class UserAgentClient extends http.BaseClient {
  final String userAgent;
  final http.Client _inner;

  UserAgentClient(this.userAgent, this._inner);

  Future<http.StreamedResponse> send(http.BaseRequest request) {
    request.headers['user-agent'] = userAgent;
    return _inner.send(request);
  }
}- BaseClient를 확장하여 커스텀 클라이언트 생성 가능
- 모든 요청에 User-Agent 헤더를 추가하는 기능 구현
+
http 패키지는 간단한 API 요청부터 고급 기능까지 다양한 용도로 사용할 수 있다.
프로젝트의 규모와 요구 사항에 따라 Client, RetryClient, BaseClient 등을 활용하여 효율적인 네트워크 요청을 구현할 수 있다.
'pub.dev' 카테고리의 다른 글
| [pub.dev] - intl (0) | 2025.03.17 |
|---|---|
| [pub.dev] - dio (0) | 2025.03.14 |
| [pub.dev] - flutter_secure_storage (0) | 2025.03.05 |
| [pub.dev] - flutter_dotenv (0) | 2025.02.27 |
| [pub.dev] - provider (0) | 2025.02.24 |
'pub.dev' Related Articles
more


